Little Crocheted Mushroom Christmas Tree: a FREE pattern
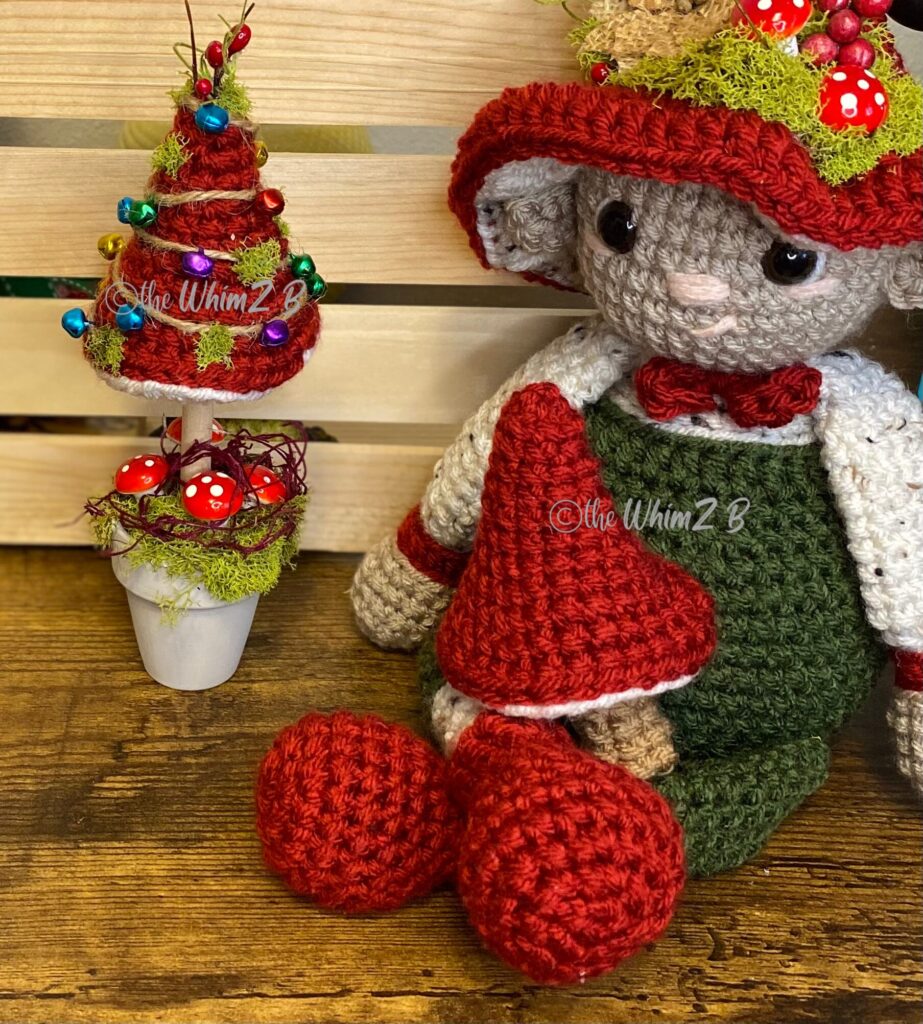
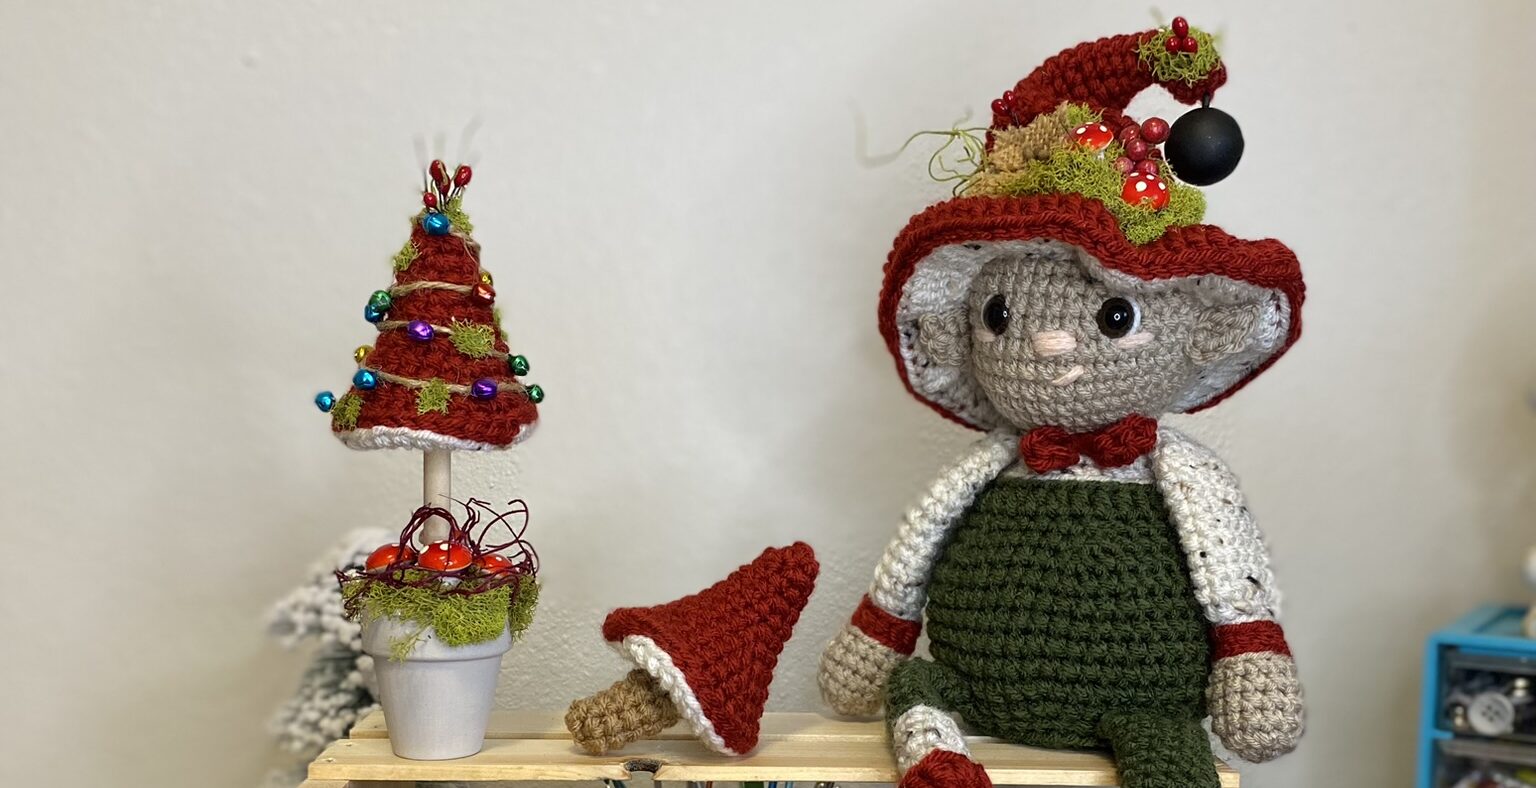
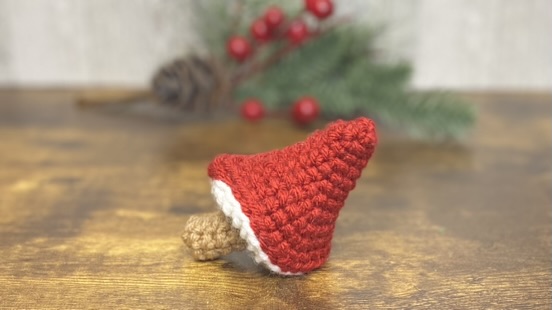
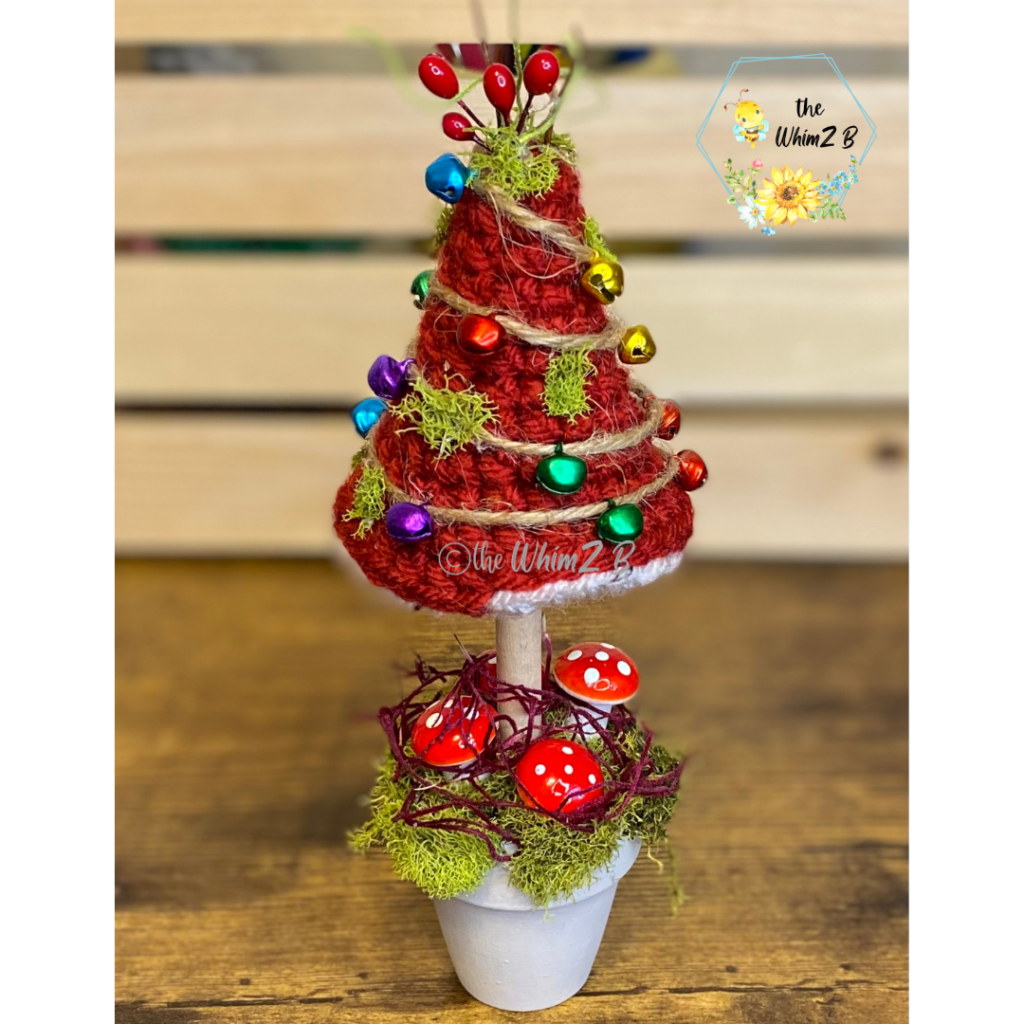
Do you love mushrooms? I do. I recently wrote a pattern for a little mushroom and thought it would make the cutest tiny Christmas tree in a tiny pot. That is how this crocheted mushroom Christmas tree topiary was born!
Supplies I used:
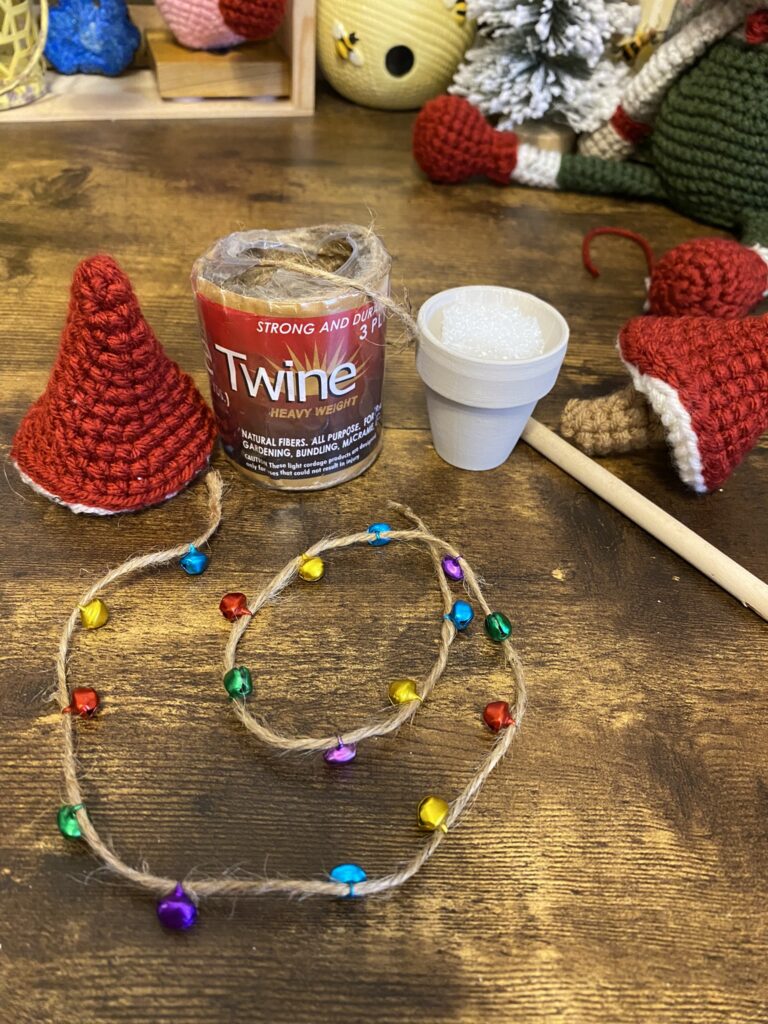
- Crocheted Mushroom without the stem (Pattern is here)
- Little Pot (I recommend a 2″ one)
- Acrylic or chalk paint and brush if you would like your pot painted
- Styrofoam (I got a Styrofoam ball and cut it down to fit inside)
- Moss (Mine was a bag of different kinds from Hobby Lobby)
- Tiny mushrooms (I ordered mine off Amazon. They are tiny foam picks. They are also at the Dollar Tree sometimes)
- Jute or hemp twine (the finer the better)
- Tiny Bells (Hobby Lobby in the Christmas crafts)
- Pip Berries (Mine are double sided and from Hobby Lobby in the Christmas crafts)
- 1/4″ Wooden Dowel
- Hot Glue
Your embellishments do NOT have to be the same as mine… use your own creativity to create something that reflects YOU!! Other ideas are tiny lights, pom poms, berries, ribbons, baker’s twine, buttons… the possibilities are endless!
I have had this teeny tiny little pot forever… FOR-E-VER (did you get the Sandlot quote there?) I knew I had to use it for this project. My pot is actually kind of small in scale for this project. I recommend one that is 2″.
How I put it together:
Make sure you have your mushroom crocheted with no stem. Do not stuff the tip of the mushroom.
Cut your dowl to size. To measure, I placed mine inside my mushroom, then inserted it through the pot and into the bottom hole of the pot. I adjusted it to where I wanted it to sit and marked it. Then I gave it to my Hubby who cut it for me. Mine measured a little over 5″ but yours can be different depending on how big your mushroom is and your pot.
If you are using the jute twine and the tiny bells…. FAIR WARNING. This job is not for the faint at heart! (lol) The hole on the bells is T.I.N.Y. My twine was from the Dollar Tree and was not fine. I wound up having to dip the tip of my twine in some nail oil (hey… gotta use what you have!) and twisting it as tight as I could before threading it through the bells. I had to do this multiple times.
You need to go ahead and loop your twine around the little crocheted mushroom Christmas tree like you want it and cut it (add a couple of inches) before trying to thread those tiny bells on.
I did a repeated pattern of bell colors on my twine and after wrapping it, found that it was a mistake. It wound up having the same colors grouped together. Instead, I recommend just putting them on there with no rhyme or reason.
Prepare your pot
Prepare your Styrofoam ball for the pot. I cut mine down, then added the cut pieces into the sides to give a surface to glue the moss. I didn’t have to glue my Styrofoam, it was wedged in tight.
Now insert your dowel into the styrofoam. I did not have to glue it either.
If you are using the tiny mushroom picks, insert them into the styrofoam now. I placed mine at different heights.
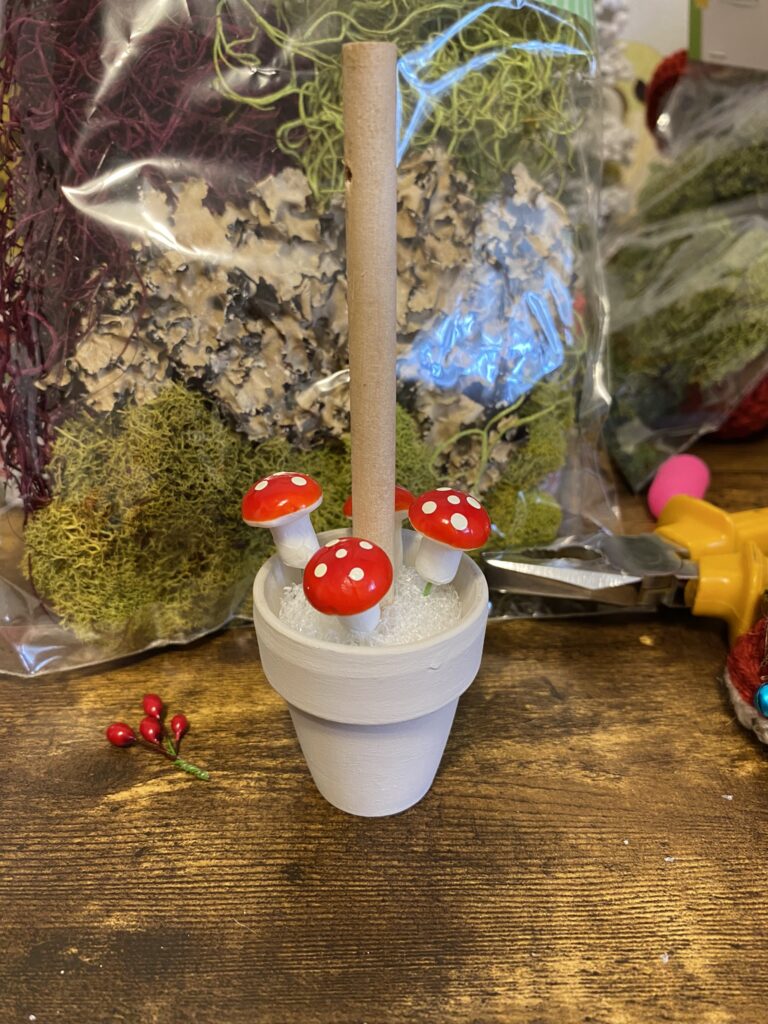
The moss is glued down next. In the package I had, was some very soft & squishy moss. I tore some off and glued it around the mushrooms and also some hanging over the edge of the pot. Then I went back with some different moss and added it in.
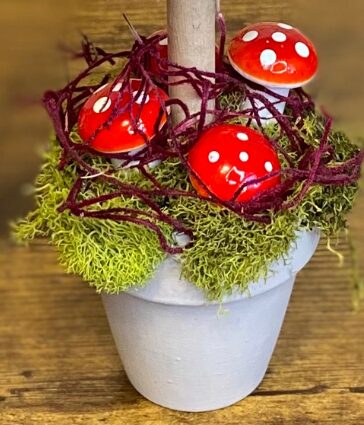
Almost finished!!
If you are sewing anything onto your mushroom part, then you will probably want to do that before proceeding.
Attach the little crocheted mushroom on top of the dowl. Place a bit of hot glue on the tip before inserting it. Take a tiny bit of stuffing and stick it up around the dowel, to give the mushroom some definition. Then hot glue the opening of the mushroom to the dowl.
Take your tiny bells and thread them onto a piece of jute twine. This was very challenging. The jute kept fraying. I had to dab a little oil on the tip and twist it to keep threading the bells. I spaced them about an inch apart and threaded them using a repeated pattern. That turned out to be a bad idea, but I was NOT going to re-thread all those bells! The reason it didn’t work out is because the colors group together. Oh well…
I used hot glue to adhere the jute here and there to make sure it stayed in place.
For the topper, twist together two of the pip berry stems. Hot glue them into the top of your little mushroom.
Lastly, take bits and pieces of moss and hot glue them haphazardly onto the mushroom to give it a true woodland Christmas tree look!
I love how WHIMZcal it turned out!!
Are you ready to make one? Do it!! If you don’t have any embellishments, go outside on a scavenger hunt. Nature is full of embellishments! Just be sure you get them from your own yard or have permission to get them. In my state no one is not allowed to take anything out of the state parks or national forests.
If you make one, then please tag me on social media so I can see 🙂.
Want to make a cute Woodland Elf to go with your little crocheted mushroom Christmas tree? Visit My Etsy Shop!
